Essay - Published: 2021.01.23 | blender | procedural-generation | python |
DISCLOSURE: If you buy through affiliate links, I may earn a small commission. (disclosures)

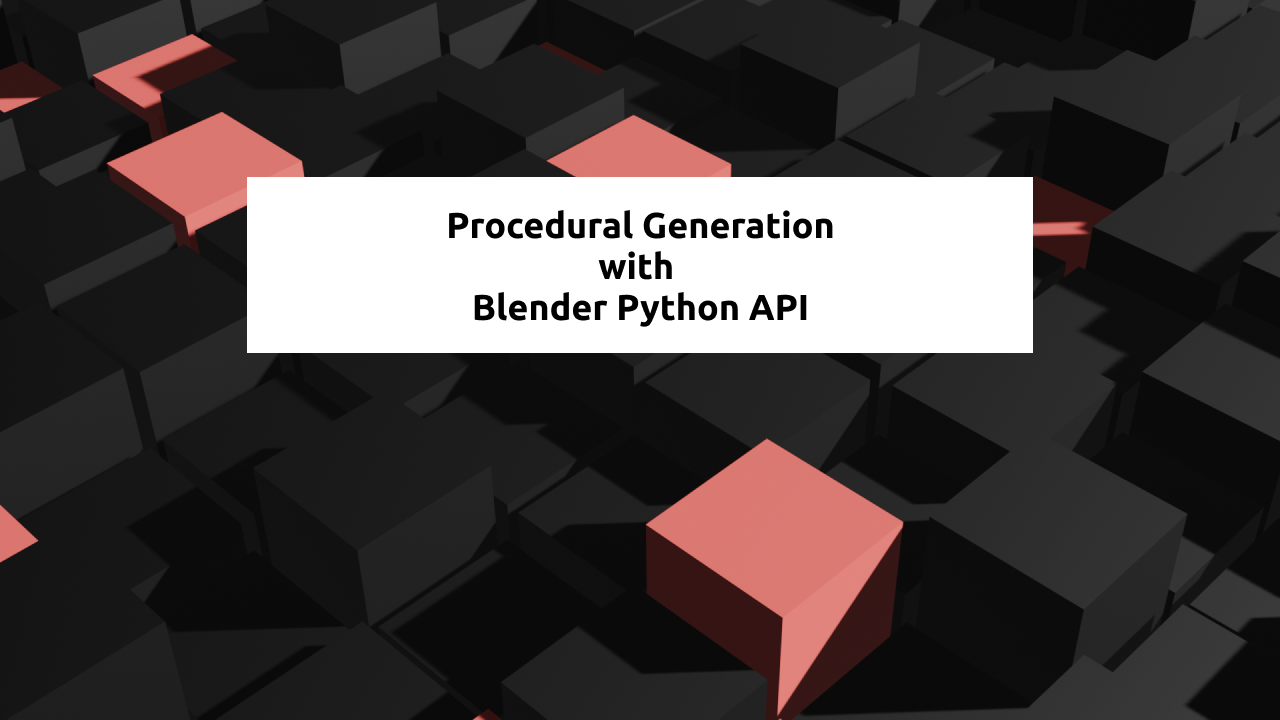
In this post I'll share some basics of Procedural Generation with Blender's Python API. I'll use a render I made during Genuary 2021 (a daily generative art challenge) to demonstrate.
I also have a video guide if you'd like to take a look:
For those that don't know, procedural generation is the act of creating parameterized, random art.
From Wikipedia:
In computing, procedural generation is a method of creating data algorithmically as opposed to manually, typically through a combination of human-generated assets and algorithms coupled with computer-generated randomness and processing power.
Let's say we have the ability to create a cube, set its color, and change its location. An example of procedural generation may be to create 1000 cubes with random colors and locations.
In the example provided, I've created 400 (20 * 20) cubes aligned in a grid, each with a random height and color. With the power of code, I was able to do this in just a few lines of text.
There are many different ways to leverage procedural generation in your Blender project. You could write code, configure a plugin, or randomize things yourself. I like to code so I'm going with the coding route but know that other options exist.
Here's my code:
# This gives you access to call Blender functions from Python
import bpy
import random

# We set spacing to be slightly larger than the cube size (2) we add later
spacing = 2.2

# Iterate over each grid 'cell' we want a cube at
for x in range(20):
    for y in range(20):
        # calculate the location of the current grid cell, generate a random height
        location = (x * spacing, y * spacing, random.random() * 2)

        # add the cube
        bpy.ops.mesh.primitive_cube_add(
            size=2,
            enter_editmode=False,
            align='WORLD',
            location=location,
            scale=(1, 1, 1))

        # set the cube's material (color in this case)
        item = bpy.context.object
        if random.random() < 0.1:
            item.data.materials.append(bpy.data.materials['Material.Red'])
        else:
            item.data.materials.append(bpy.data.materials['Material.Black'])
Now a general walkthrough:
That's all there is to it! Feel free to grab this code and give it a whirl in your own Blender file. If you do, I'd love to see what you make / how you modify it. Comment below or message me on one of my socials.
The best way to support my work is to like / comment / share for the algorithm and subscribe for future updates.